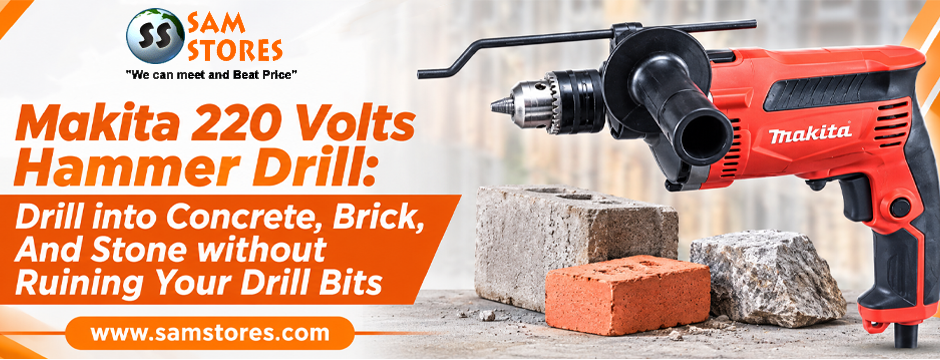
Whether you’re installing shelves, mounting fixtures, or handling a renovation project, the right technique makes a noticeable difference. Choosing reliable equipment, such as a Makita 220 Volts Hammer Drill, can also make demanding drilling tasks easier. However, even a powerful tool needs proper handling.
Drilling into concrete, brick, or stone can test both your patience and your tools. You start with a fresh drill bit, mark the exact spot, and begin working. A few seconds later, the bit overheats, progress slows, and the hole looks nothing like you expected.
The problem isn’t always the drill itself. Masonry materials are harder and more abrasive than wood or plastic. Using the wrong bit, excessive pressure, or an unsuitable drilling mode can wear down cutting edges quickly.
Let’s explore how to drill into different masonry surfaces while protecting your drill bits and getting cleaner results.
Understand The Material before You Start
Concrete, brick, and natural stone might appear similar when viewed from the outside. However, their density, composition, and resistance can vary considerably.
Understanding the surface helps you choose the right drill bit, speed, and drilling approach.
- Concrete: Dense concrete can contain hard aggregates and reinforcing materials. It generally requires a masonry bit and a hammer drilling function.
- Brick: Brick is comparatively softer, but its structure can crack under excessive pressure. Drilling into the brick itself is often preferable to drilling into the mortar.
- Natural Stone: Granite, slate, and other stones have different hardness levels. Some require specialised masonry or diamond-tipped bits.
Before drilling, identify the material and check for hidden electrical wiring, plumbing, and reinforcement. A suitable detector can help identify potential hazards.
Choose The Right Drill Bit
Your drill bit does most of the cutting work, so choosing the correct one matters. Standard wood and metal bits aren’t designed for masonry surfaces.
For most concrete and brick applications, use a carbide-tipped masonry bit. Its hardened cutting tip helps withstand abrasive materials and repeated impact.
For particularly hard stone, specialised diamond-tipped bits may be more appropriate. Always check the manufacturer’s recommendations before selecting one.
A few practical considerations can help:
- Match the bit diameter to the required hole size.
- Choose a bit length that suits the drilling depth.
- Check that the shank fits your drill’s chuck.
- Inspect the carbide tip for chips or visible damage.
- Replace worn bits rather than forcing them through the material.
A compatible Makita 220 Volts Hammer Drill can provide the impact action needed for many masonry drilling applications. Pairing the drill with a suitable masonry bit helps improve drilling efficiency.
Use The Correct Drill And Settings
Not every drill is designed for demanding masonry work. A standard rotary drill may handle occasional light drilling, but dense concrete often requires a hammer drill.
A hammer drill combines rotation with rapid forward impacts. This action helps break up masonry material while the bit cuts through it.
When selecting your equipment, consider the following:
- Hammer Drill: Suitable for many concrete and brick drilling tasks.
- Rotary Hammer: Often better suited to frequent drilling or demanding applications involving harder concrete.
- Rotary Drill: Useful for softer materials and applications that don’t require impact action.
Choose the appropriate speed and operating mode for the material and bit. Avoid assuming that maximum speed always produces better results.
If you are comparing brands, we offer access to tools across different manufacturers. Options such as Bosch 220 Volts Power Tools can help buyers explore equipment suited to different workshop and construction requirements.
Start Slowly And Let The Drill Do The Work
One common mistake is applying excessive pressure immediately. This can generate unnecessary heat, damage the cutting edge, and make the drill difficult to control.
Instead, begin drilling at a controlled speed. Allow the bit to establish a small starting point before increasing pressure gradually. Keep the drill steady and maintain alignment throughout the process. Excessive sideways movement can damage the hole and place additional stress on the bit.
Remember these simple practices:
- Start at a slower speed when positioning the bit.
- Increase speed gradually when the hole is established.
- Apply steady pressure without forcing the drill.
- Keep the drill aligned with the intended hole.
- Pause if progress slows or the bit becomes unusually hot.
If the drill struggles, stop and investigate. Forcing it further rarely solves the underlying problem.
Control Heat during Drilling
Heat is one of the biggest reasons drill bits lose their cutting performance. Continuous drilling creates friction between the bit and the material. Excessive heat can weaken cutting edges and shorten tool life.
The simplest solution is to avoid uninterrupted drilling whenever possible.
Work in short intervals, allowing the bit to cool between drilling sessions. Remove accumulated dust periodically, since debris can increase friction and interfere with cutting.
For appropriate drilling applications, follow the bit manufacturer’s cooling recommendations. Some specialised bits require particular cooling methods, while others are designed for dry drilling.
Never apply water indiscriminately to electrical equipment. Check that the drill and bit are suitable for the intended wet or dry application.
Remove Dust And Debris Regularly
Concrete and masonry drilling produces fine dust that can accumulate inside the hole. This debris increases resistance and makes drilling less efficient. Pulling the bit out periodically helps clear loose material. Use a suitable dust extraction attachment or vacuum to manage dust around the drilling area.
Avoid blowing masonry dust away with your mouth. Fine particles can irritate your respiratory system. Wear suitable eye protection and respiratory protection.
Follow applicable workplace safety requirements, particularly when drilling concrete containing silica. Keeping the hole clear also helps prevent unnecessary pressure on the cutting tip.
Adjust Your Technique for Different Materials Using A Makita 220 Volts Hammer Drill
The same drilling approach doesn’t work equally well across every masonry surface.
Drilling into Concrete
Use a suitable carbide-tipped masonry bit and an appropriate hammer drilling mode. Begin carefully, then maintain steady pressure.
If you encounter reinforcing steel, stop rather than forcing the bit through. Reassess the drilling location and follow the project’s specifications.
Drilling into Brick
Start slowly and avoid applying excessive force. When possible, drill into the centre of the brick rather than its edges.
For older or brittle brickwork, consider using a lower-impact approach to reduce cracking risks.
Drilling into Stone
Identify the stone type before selecting your equipment. Hard natural stone may require specialised diamond tooling. Avoid overheating the bit, and follow the manufacturer’s recommended drilling method.
Maintain Your Tools for Longer Performance
Even quality tools require regular inspection and maintenance. A damaged chuck, worn bit, or clogged ventilation opening can affect drilling performance.
After each project, clean the drill and inspect the accessories. Store bits in a dry, organised case to protect their cutting edges.
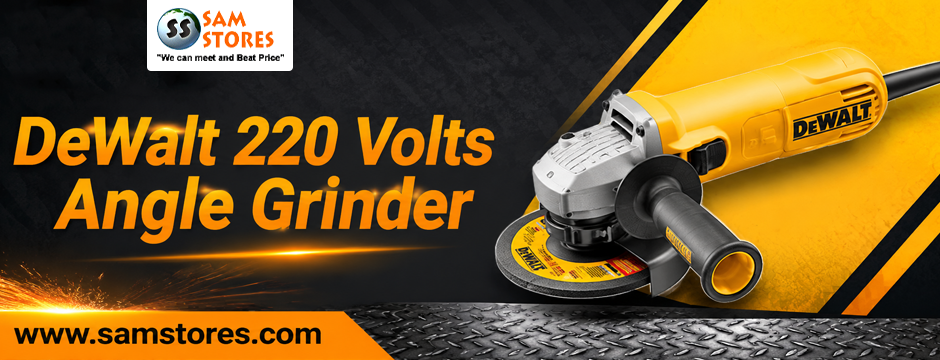
If you’re building a broader tool collection, consider how different equipment supports different jobs. A DeWalt 220 Volts Angle Grinder can assist with suitable cutting and surface-preparation tasks.
Likewise, a Milwaukee 220 Volts Circular Saw or Hitachi 220 Volts Circular Saw may suit specific woodworking and construction applications. Choose each tool according to its intended use rather than treating different machines as interchangeable.
Final Thoughts
Successful masonry drilling depends on more than choosing a powerful machine. The right bit, suitable settings, controlled pressure, and regular cooling all contribute to better results. A Makita 220 Volts Hammer Drill can be a useful addition when concrete and masonry drilling feature regularly in your projects. Combine it with compatible accessories and sensible drilling practices to protect your investment.
At Sam Stores, you can explore power tools from recognised manufacturers for different project requirements. Whether you’re upgrading your equipment or preparing for a new job, choosing the right tool makes everyday work more manageable.
Drill carefully, maintain your accessories, and never force equipment beyond its intended capabilities. A little preparation can save both your drill bits and considerable frustration.
FAQs
1. Which drill bit is best for drilling into concrete?
Carbide-tipped masonry bits are suitable for many concrete drilling applications. Harder materials may require specialised diamond-tipped bits.
2. Can I use a regular drill for concrete?
A regular rotary drill may handle light masonry work, but dense concrete generally requires a hammer drill or rotary hammer.
3. Why do drill bits become blunt when drilling into concrete?
Concrete creates significant friction and abrasion. Excessive heat, unsuitable bits, and continuous drilling can accelerate cutting-edge wear, so you may choose Makita 220 Volts Hammer Drill.
4. Should I use water when drilling into brick or concrete?
Cooling requirements depend on the bit and drilling method. Follow manufacturer instructions and never expose unsuitable electrical equipment to water.
5. How can I prevent bricks from cracking while drilling?
Start slowly, use a suitable masonry bit, and avoid excessive pressure. Drilling away from brick edges can also reduce cracking risks.
6. How often should I replace masonry drill bits?
Replace bits when their cutting edges become damaged, noticeably worn, or ineffective. Regular inspection helps prevent poor drilling results.