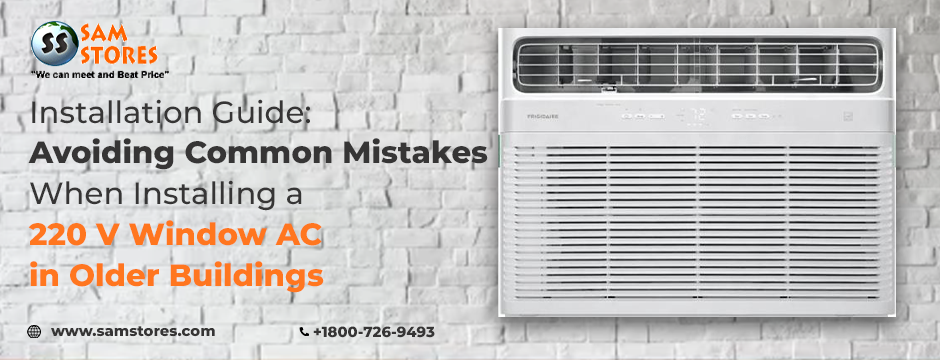
If you live in an older building, installing a 220 volt window AC can be both a comfort upgrade and a technical challenge. Many Indian homes and apartments built before the 2000s were not designed to handle today’s high-load appliances. Aging wiring, narrow window frames, and limited ventilation often make homeowners hesitant to take the plunge. Yet, with the right guidance, you can enjoy efficient cooling without electrical worries or wasted energy.
At Sam Stores, we help homeowners make confident choices about cooling systems. Whether you’re buying a 220 volt air conditioner for the first time or replacing an older model, this step-by-step guide will help you install it correctly and avoid the most common pitfalls that lead to performance issues or safety risks.
Understanding the Basics: Why Voltage Matters
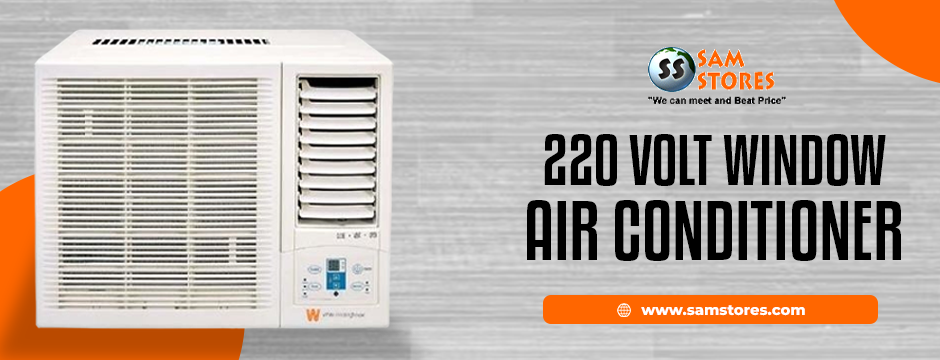
A 220 volt window air conditioner operates on a higher voltage than smaller 110 V units. This allows it to draw power more efficiently and deliver stronger cooling output for larger rooms. In most Indian homes, the standard voltage is already around 220-240 V, making it compatible. However, older buildings may have outdated or corroded wiring that cannot safely handle the sustained load of a heavy-duty window unit.
Before purchasing, confirm that your home’s electrical wiring and circuit breaker are rated for 15 amps or higher. If your home still has aluminum wiring or single-strand cables, consult a licensed electrician for an inspection. Investing in a wiring upgrade may seem inconvenient, but it ensures your 220 volt window AC runs smoothly and safely for years.
Planning the Perfect Spot for Installation
Choosing the right location is just as important as the equipment itself. Many homeowners overlook basic placement factors that affect performance and lifespan.
Ideal placement tips:
- Avoid direct sunlight: If your window faces west or south, the sun’s rays can force the AC to work harder. Consider using shades, curtains, or exterior blinds to reduce heat load.
- Ensure structural stability: The window frame must be strong enough to support the unit’s weight. Reinforce weak or wooden frames with a steel bracket.
- Accessibility matters: Choose a window that allows easy access for cleaning, servicing, and drainage checks.
The right placement can make a big difference in cooling efficiency and electricity consumption, especially during peak summer months.
Check Your Electrical Setup Before Installation
Old flats often have limited electrical points and aging circuit boards. Before mounting your 220 volt air conditioner, carry out a few key checks:
- Dedicated circuit: Ideally, your window AC should have its own circuit with a dedicated breaker. Sharing the line with other heavy appliances like washing machines or refrigerators can lead to tripping or overheating.
- Earthing connection: Proper earthing prevents electrical shocks and damage to internal components. Ask your electrician to verify that the grounding system is intact.
- Voltage stability: In areas with frequent voltage fluctuations, a good-quality voltage stabilizer rated for 220 V appliances is a must. It protects your AC from sudden surges that can damage the compressor or circuit board.
For added peace of mind, Sam Stores offers professional installation support through certified technicians who understand the technical nuances of 220 V systems.
Mounting the Unit: Doing It Right the First Time
Mounting a 220 volt window AC may look simple, but precision is key to performance and safety. Improper tilt angles or loose fittings can cause water leakage, vibration noise, or even unit failure.
Step-by-step mounting guide:
- Measure carefully: Ensure your window opening matches the AC’s dimensions. The unit should fit snugly without gaps that allow hot air or insects inside.
- Install support brackets: Use a heavy-duty steel bracket to bear the weight of the AC. This is especially crucial for older buildings with weaker window sills.
- Tilt slightly outward: The back of the AC should tilt about half an inch outward to allow condensate water to drain naturally.
- Seal the gaps: Use foam insulation strips or weather-proof sealant to fill any small gaps around the unit. This prevents cool air from escaping and improves energy efficiency.
- Secure firmly: Once mounted, double-check all bolts and brackets. The AC should not wobble or rattle when it runs.
A clean, firm, and properly aligned installation reduces long-term wear and tear and keeps your AC running quietly.
Ensuring Proper Ventilation and Airflow
Window ACs release hot exhaust air through the back, which needs free airflow to operate efficiently. In older buildings with narrow alleys or closed balconies, this often becomes a problem.
- Keep at least 20 inches of clearance behind the unit.
- Remove any obstacles like flower pots or grills that block ventilation.
- Clean dust from the rear coil regularly to maintain optimal heat exchange.
Poor ventilation can make the compressor overheat, consume more power, and shorten its lifespan. Regular maintenance, especially before summer, is the best way to avoid expensive repairs later.
Noise and Vibration Control
Older window frames often amplify vibration and noise. Over time, constant rattling can loosen joints and cause cracks. To minimize disturbance:
- Place rubber padding or anti-vibration mats between the frame and AC base.
- Tighten screws periodically to prevent resonance.
- Avoid placing heavy curtains or furniture directly against the unit.
If you live in a densely populated area or apartment block, a quiet setup will also keep your neighbors happy.
Managing Heat Exposure in West-Facing Rooms
Rooms exposed to harsh afternoon sun tend to get warmer, putting extra strain on the AC. If your flat has west-facing windows, follow these quick adjustments:
- Use reflective films or light-colored curtains to deflect sunlight.
- Add an external awning above the window.
- Combine your 220 volt window air conditioner with a ceiling fan to circulate cool air faster.
- Pre-cool the room by running the AC on medium for 15 minutes before peak heat hours.
Small adjustments can lower energy use and extend compressor life significantly.
Stabilizer Requirements and Surge Protection
Many people skip stabilizers, assuming modern ACs are surge-proof. However, frequent voltage dips or surges can still harm sensitive electronic components. Choose a stabilizer with the following features:
- Input range: 170–270 V
- Low/high voltage cut-off
- Thermal overload protection
- Suitable wattage (typically 1.5 ton AC ≈ 4–5 kVA stabilizer)
Adding a surge protector or line conditioner further safeguards against lightning strikes or grid fluctuations. It’s a small investment that protects an expensive appliance.
Regular Maintenance for Optimal Performance
Installation is just the beginning. Keeping your 220 volt air conditioner efficient requires consistent maintenance.
- Clean filters every two weeks during heavy use.
- Check the drain pan to prevent water buildup.
- Inspect coils for dust or corrosion every six months.
- Schedule a professional servicing at least once a year to check refrigerant levels and electrical connections.
Well-maintained units use less electricity, cool faster, and last longer.
Professional Help vs. DIY: What’s Right for You?
While DIY installation videos make it look easy, 220 V systems demand caution. Incorrect wiring, loose grounding, or improper tilt can cause expensive damage. Professional installers not only mount the AC safely but also ensure optimal electrical compatibility with your building’s setup.
At Sam Stores, we work with trusted technicians who understand local construction nuances and electrical standards. Our team ensures every 220 volt window AC you purchase is installed with precision, tested for voltage stability, and optimized for your room’s layout. This professional attention protects your investment and gives you long-term reliability.
Why Choose a 220 V Window AC from Sam Stores
Sam Stores is known for offering genuine, energy-efficient air conditioners built for lasting comfort. Our 220 V models are tested for Indian power conditions and come with modern features such as:
- Inverter-based cooling for energy savings
- Anti-bacterial and dust filters
- Smart temperature sensors for consistent comfort
- Easy installation kits with user-friendly manuals
More importantly, we help you choose the right unit size and provide after-sales support that ensures a worry-free experience. Whether you need a compact 0.75 ton AC for a study room or a powerful 2 ton model for your living area, you’ll find the perfect fit at Sam Stores.
Final Thoughts: Cool Comfort Without the Compromise
Installing a 220 volt air conditioner in an older building doesn’t have to be complicated or risky. With careful planning, a few professional checks, and the right stabilizer and mounting, your home can enjoy reliable cooling even during the hottest days.
The most common installation mistakes—loose mounting, poor ventilation, and inadequate wiring—can all be avoided by following the steps in this guide. Remember, safety and efficiency go hand in hand. If you’re unsure at any stage, rely on a certified technician or reach out to the team at Sam Stores for expert advice.
Choosing the right 220 volt window AC is about more than comfort—it’s about smart energy use, reliable performance, and lasting value. With Sam Stores, you can rest assured your next cooling solution will deliver all three.
Ready to upgrade your home comfort?
Visit Sam Stores today to explore our latest range of high-efficiency 220 volt window AC units and accessories. Cool smarter, live better, and enjoy every season in total comfort.